Coastal Living
The Coastal Bathroom Exhaust Fan and Ducted Ventilation Decontamination Protocol: Mitigating Humid Mold Spores, Lint-Cement Build-Up, and Botanical Airway Protection in Grand Strand Homes
A professional-grade guide to deep-cleaning and sanitizing coastal bathroom exhaust systems to eliminate hidden mold, improve airflow, and protect indoor air quality in Myrtle Beach homes.
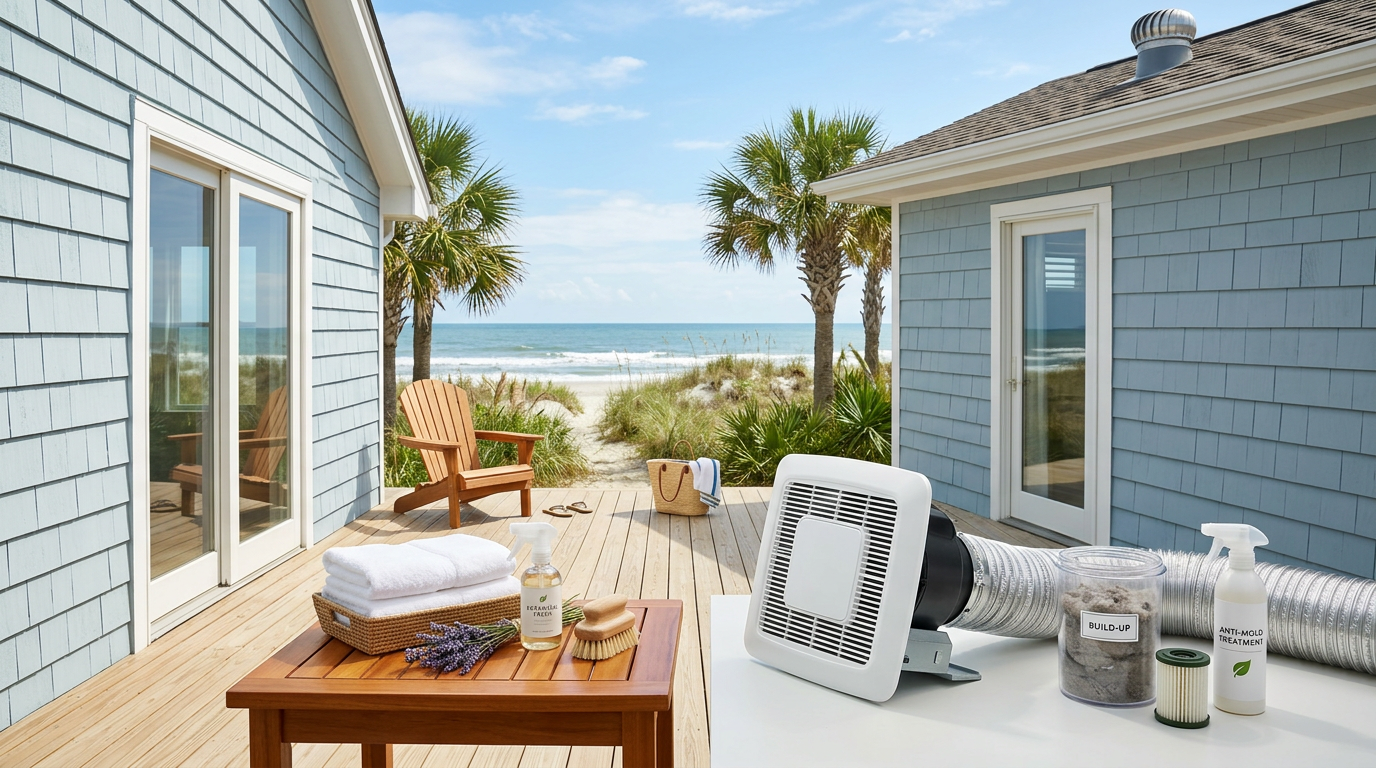
Coastal bathrooms along the Grand Strand endure a relentless combination of high outdoor humidity, salt-laden air, and fine sand, creating a challenging environment for ventilation systems. When warm, moisture-rich air from daily showers meets the cooler mechanical surfaces of a bathroom exhaust fan, condensation instantly forms inside the housing and ductwork. Over time, this persistent dampness mixes with airborne dust, skin cells, and grooming spray residues to create a tough, cement-like crust. This guide outlines a professional-grade protocol to safely disassemble, mechanically clear, and botanically sanitize bathroom exhaust systems to protect your home's air quality.
The Anatomy of Coastal Bathroom Ventilation Failures
Bathroom exhaust fans in the Myrtle Beach region face environmental demands far exceeding those in inland climates. The combination of high outdoor humidity and air-conditioned indoor spaces means that ventilation ducts constantly transition between hot and cold zones. When moist indoor air is pulled into these systems, water droplets cling to the fan blades, housing, and backdraft dampers. This moisture acts as an adhesive, trapping fine sand, lint, and organic debris that would otherwise pass through the system safely.
Once this organic matter settles on the fan components, it creates a nutrient-rich breeding ground for mold and mildew. Because bathroom ventilation fans are tucked away in dark ceiling cavities, mold colonies can grow undetected for months. Every time the fan is switched on, instead of effectively exhausting stale air, the compromised system can vibrate, hum loudly, and drop microscopic mold spores back down into the living space, compromising the health of children, pets, and sensitive family members.
Furthermore, a restricted exhaust system fails to pull moisture out of the bathroom efficiently. This residual humidity lingers on drywall, baseboards, and behind vanities, accelerating mold growth across other high-end bathroom surfaces. Standard household cleanings rarely touch the interior mechanicals of these exhaust units, allowing the hidden soil load to compound season after season. Addressing this issue requires a systematic, mechanical disassembly and chemical decontamination.
Diagnostic Signs of a Compromised Exhaust System
Identifying a failing or contaminated bathroom exhaust fan goes beyond looking for visible dust clinging to the exterior plastic grille. Homeowners should first monitor the rate at which steam clears from the bathroom after a hot shower. If the vanity mirror remains fogged for more than fifteen minutes post-shower, or if condensation runs down the walls, the fan is likely choked by debris. This reduced airflow is a direct consequence of dust buildup narrowing the effective airway inside the housing.
Auditory cues are another primary indicator of mechanical and airflow distress. A clean, well-balanced fan operates with a steady, low hum, whereas a fan burdened by heavy, asymmetrical dirt deposits will wobble, rattle, or emit a high-pitched whine. The added weight of dust-cement on the fan blades strains the small electric motor, causing it to run hotter and wear out prematurely. This thermal stress can even create a subtle burning odor, warning of potential electrical hazards in dry attic spaces.
Lastly, physical inspection of the ceiling surrounding the fan vent often reveals telltale signs of failure. Dark, sticky rings of dirt, known as ghosting, or yellow-brown water spots indicate that moisture is condensing inside the duct and dripping back down. In severe cases, microscopic mold spores will begin colonizing the drywall immediately adjacent to the plastic grille. When these physical and auditory symptoms appear, simple dusting is no longer sufficient; a comprehensive deep-clean is required.
- Mirrors remaining fogged for more than fifteen minutes after a shower.
- Excessive noise, rattling, or high-pitched whines during operation.
- Brown water stains or dark dust rings on the ceiling surrounding the grille.
- Visible mold growth on the plastic slats of the fan cover.
- A lack of suction when testing the fan with a single sheet of tissue paper.
The Mechanical Disassembly and Safety Preparation Protocol
Before undertaking any physical work on an electrical appliance in a wet environment, safety protocols must be strictly enforced. Begin by turning off the power to the bathroom exhaust fan at the main circuit breaker panel, rather than relying solely on the wall switch. This eliminates any risk of accidental activation or electrical shock during disassembly. Confirm the power is off by attempting to toggle the switch, and position a stable step ladder directly beneath the fixture on a dry, level floor.
Carefully remove the plastic cover plate, which is typically held in place by two spring-loaded metal tension clips. Pull the grille down slightly, squeeze the metal wires together, and slide them out of their mounting slots. Immediately place the dusty grille into a utility bucket to prevent loose debris from falling onto bathroom countertops or flooring. Inspect the exposed motor assembly, which is generally secured to the metal housing box by a couple of screws or a slide-in tab system.
Unplug the fan motor from the internal receptacle located inside the ceiling housing box. Carefully lower the motor and blower wheel assembly out of the ceiling, supporting its weight to avoid putting tension on any remaining wiring. This step exposes the raw metal housing and the throat of the exhaust duct. Take care to document the positioning of the blower wheel relative to the housing, ensuring you can reassemble the components perfectly once the decontamination process is complete.
Mitigating the Lint-Cement Crust: Mechanical Cleaning Steps
The mixture of humidity, hairspray, bath products, and skin cells creates a tough, sticky layer on fan blades often referred to as lint-cement. This crust cannot be removed by simple vacuuming or dry brushing. To clean the blower wheel—which is usually a plastic or metal cylinder-style cage—you must carefully scrape the heavy deposits out of each individual curved fin. Use a soft-bristled brush or a plastic putty knife to dislodge the bulk of the material without bending or breaking the delicate blades.
While working on the blower wheel, take care not to wet the electrical motor housing. The motor itself should be cleaned using dry, compressed air to blow out dust from the winding vents, followed by a light wipe-down of the exterior casing with a damp microfiber cloth. If the blower wheel can be detached from the motor shaft, submerge it in a warm bath of water and mild dish soap to loosen the grease-like binding agents.
Switch your attention to the metal housing box still recessed in the ceiling. Use a HEPA-filtered vacuum equipped with a crevice tool and a soft brush attachment to extract loose dust, cobwebs, and dried insect debris from the corners. Gently vacuum around the damper flap—the small plastic door that opens when the fan runs and closes to prevent backdrafts. Ensure this flap moves freely; if it is glued shut by sticky dirt, air cannot escape, rendering the fan useless.
The Botanical Disinfection and Spore-Killing Formulation
Once the physical soil has been mechanically cleared, chemical sanitization is required to kill remaining mold spores and prevent rapid recolonization. In coastal environments, using harsh synthetic chemicals like chlorine bleach in confined ceiling spaces is highly discouraged. Bleach off-gasses toxic chlorine fumes that irritate sensitive airways, and its high water content can actually encourage deep mold roots to grow back stronger on porous attic wood.
Instead, this protocol utilizes botanical disinfectants formulated with thymol, an active ingredient derived from natural thyme oil. Thymol is highly effective at disrupting the cellular membranes of mold, mildew, and bacteria without leaving behind toxic chemical residues. Spray the botanical solution generously onto a clean microfiber cloth, then thoroughly wipe down the non-electrical metal housing interior, the plastic damper, and the blower wheel.
Allow the botanical disinfectant to remain wet on the surfaces for the manufacturer's recommended contact time—typically ten minutes—to ensure complete sanitation. This step neutralizes active fungal structures and leaves behind a microscopic, mold-resistant barrier that discourages new spores from taking root. Because thymol-based products are safe for indoor air quality, there is no need to rinse the surfaces, and the bathroom remains free of synthetic chemical fragrances.
- Thymol-based botanical solutions avoid off-gassing harsh fumes in small spaces.
- Eliminates fungal spores on contact without damaging plastic or metal components.
- Prevents rapid mold recolonization by leaving a microscopic protective barrier.
- Zero-rinse application reduces labor time and moisture introduction.
- Safe for homes with pets, young children, and allergen-sensitive residents.
Inspecting and Clearing the Ducted Path to the Exterior
A clean fan assembly cannot function if the exhaust duct leading to the outside of the home is blocked. In Grand Strand homes, these ducts often run through unconditioned attic spaces to a soffit vent, a roof cap, or a side wall vent. Check the duct connection at the fan housing box to ensure the foil tape or hose clamp is secure. Any gaps here will allow hot, humid attic air to seep into the bathroom, or dump moist bathroom air directly into the attic, causing localized wood rot.
Use a flexible duct cleaning brush attached to a drill, or a high-suction vacuum hose, to clear out the first few feet of the ductwork. Look for signs of condensation pooling in low spots of flexible foil ducting. In coastal areas, saggy foil ducts often trap water, creating heavy pockets that restrict airflow and foster massive mold colonies. If sagging is detected, support the ductwork with hangers to ensure a continuous, upward slope toward the exterior vent.
Finally, inspect the exterior vent cap on the outside wall or roof line. These outlets are frequent nesting spots for coastal birds, wasps, and spiders. If the exterior louvers are stuck shut or clogged with lint, the fan will blow air against a solid wall, forcing moisture back into the ceiling drywall. Clean away any exterior blockages, verify that the louvers open freely when the fan is running, and confirm that the protective mesh screen is intact to prevent future pest intrusions.
Reassembly, Calibration, and Airflow Verification
Once all components are thoroughly dry, reassembly can begin. Align the clean blower wheel back onto the motor shaft, ensuring any retaining clips or set screws are tightened securely to prevent slipping. Slide the motor assembly back into the ceiling housing box, clicking it into its brackets or securing it with its mounting screws. Plug the motor back into the internal electrical receptacle, making sure the cord does not interfere with the rotation of the blower wheel.
Before replacing the decorative plastic grille, temporarily restore power at the circuit breaker to test the system. Turn the wall switch on and observe the fan's operation. It should start up quickly, run smoothly without vibration, and produce a clean, consistent hum. If you notice any scraping or rattling sounds, turn off the power immediately and adjust the positioning of the blower wheel to ensure it is not contacting the metal housing.
To verify that the system is pulling air effectively, perform a simple paper test. Hold a single sheet of toilet paper or a light tissue up to the running fan. A properly functioning exhaust system should pull the paper flat against the grille and hold it there by suction alone. Once airflow is verified, wash the plastic grille cover in warm soapy water, dry it completely, squeeze the tension springs, and snap it back into place flat against the ceiling.
Proactive Maintenance Strategies for Coastal Homes
Maintaining excellent indoor air quality in Myrtle Beach requires a proactive, scheduled approach to bathroom ventilation upkeep. Exhaust fans should be deep-cleaned at least twice a year—ideally in the spring before the peak summer humidity hits, and in the autumn after months of heavy air conditioning use. For high-occupancy vacation rentals or large family homes, this interval should be shortened to quarterly inspections to prevent rapid lint-cement buildup.
Encourage family members or guests to run the bathroom exhaust fan during every shower and for at least twenty minutes afterward. Many coastal homeowners install smart timer switches that automatically shut the fan off after a set period, ensuring adequate moisture removal without wasting electricity or running the motor indefinitely. Additionally, keeping bathroom doors open when the room is not in use allows air to circulate, preventing pockets of stagnant, humid air from settling in corners.
Finally, consider upgrading older, inefficient builders-grade fans to modern units with high CFM (Cubic Feet per Minute) ratings and low sone levels. Quiet fans are much more likely to be used regularly by occupants. Selecting a model with an integrated humidity sensor automates the entire process, turning the fan on whenever indoor humidity crosses a safe threshold, protecting your Grand Strand home's structural integrity and indoor air quality around the clock.
Key takeaway
Regular mechanical deep-cleaning and botanical sanitization of your bathroom exhaust fans are critical to preventing hidden mold and preserving indoor air quality in the humid Grand Strand climate. For professional-grade home maintenance and deep-cleaning services tailored to coastal living, contact A2Z Cleaning & Linen Services at 843.800.2788.
Keep Reading

Coastal Living
The Coastal Shiplap and Tongue-and-Groove Wood Ceiling Decontamination Protocol: Mitigating Salt-Damp Dust Binding, Mold-Spore Colonization, and Breathable Allergen Re-emission in Grand Strand Homes
ReadCoastal Living
The Coastal High-Velocity Ceiling Fan and Vaulted Ceiling Decontamination Protocol: Mitigating Static-Cling Allergen Crust, Humidity-Driven Mold Spores, and Eco-Friendly Dust Capture in Grand Strand Homes
ReadCoastal Living
The Coastal Mini-Split and PTAC Evaporator Coil Decontamination Protocol: Mitigating Mold Spores, Salt-Damp Dust Loading, and Botanical Disinfection in Grand Strand Homes
ReadReady for a spotless property?
Call 843.800.2788 or request a free quote from A2Z Cleaning & Linen Services.